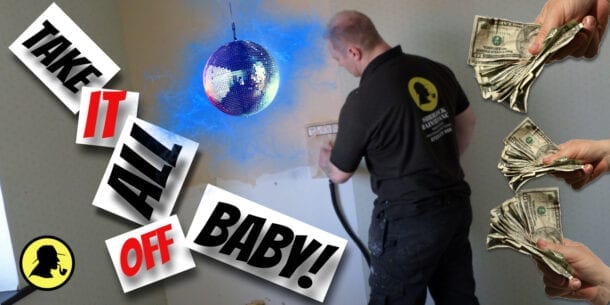
I’m going to show you how to remove wallpaper with a steamer, fast!
Yeah it sounds pretty straight forward, but I have some neat little tricks to help speed this job up, no end!
Remove Wallpaper With a Steamer,First Things First
Unpack your wallpaper steamer and get it filled up, but don’t use cold water.
Instead, run the hot water tap until is nice and hot, then fill the steamer.
The hot water will help the steamer heat up in a few minutes instead of waiting an eternity.
Connect the hose and steamer paddle, plug in and turn on.

If you don’t have a wallpaper steamer I suggest you add one to your DIY arsenal of tools. Amazon stock an heavy duty wallpaper steamer with a 3.65 metre hose, which will easily reach to the top of your walls.
Let’s Get Stripping!
Most people (once the stripper is steaming and spitting hot water everywhere!) immediately place the paddle, either in the middle of the wall or get on a step ladder and start from the top of the wall.
Don’t do it…
My First Neat Little Trick…
You actually need to start at the bottom of the wall, above the skirting and in the corner.

The reason is, we all know hot air rises.
while we steam along the bottom of the wall, the steam will actually penetrate above where you have steamed and actually start loosening the paper.
For this to work the best (starting from the corner) steam and remove the paper 5 paddle widths across.

Once that paper is removed, move up and go back along the wall following your 5 paddle distance.

This is the pattern you want to follow for the entire wall, going no more than five paddle widths wide.

With steam rising and keeping to a small area, you will notice by the time you get half way up, the paper starts to fly off at a rapid rate!
My Second Neat Little Trick…
Everyone gets frustrated with how long it takes to strip the first piece of paper.
Dont…
Instead, use this first piece as the guideline for your timing.
What you do is place the paddle like I said in the bottom corner, count ten seconds, remove paddle, then use your scraper to see if the paper will lift.

More than likely it wont, but its best practice to test every ten seconds, we don’t want to ruin the plaster underneath the paper.
Reapply your paddle and carrying on counting up to 20 seconds, have another test with your scraper, if still no movement, reapply the paddle.

Carry on counting upto 30 seconds, check again, and hopefully the scraper can easily remove the paper.
I find most paper, after 20-25 seconds of steaming, is usually ready to be scraped off, but heavy papers like embossed may need longer.

Now you have your timing, use this timing for each paddle width you do.
You WILL find by the time your half way up the wall, it will take less time because of the steam working itself into the paper as you follow the stripping pattern.
BUT PLEASE… Don’t go over your guideline stripping time, by all means shorten the time if the paper is coming off faster
But don’t go over, you will easily start to blow the plaster and then it gets messy.
My Third Neat Little Trick…
Once you have completed your first 5 paddles of stripping, turn off the wallpaper stripper.
Grab your scrapper and start to work off the decorative part of the paper until there is enough for you to start pulling it with your fingers/hands.
Once you have peeled enough off to hold in your hands, begin to pull the paper.
But…
Make sure you pull the paper horizontally towards you, like your in a tug of war.

This angle of pull will ensure the paper will not break, giving you the longest removable pull of paper.
Do not pull the paper at a 45 degree angle. This angle of pull puts too much pulling force on the paper and it will usually rip at every pull

Do this for every 5 paddle section you start, pulling the vinyl decorative top off reveals the backing paper, which loves soaking up water!
You will be cooking on gas! (getting the job done in half the time!)
Did This Post Help?
Hopefully following my neat little tricks, you now know how to remove wallpaper with a steamer, fast!
Make sure, once the paper has been completely removed, give the wall a good wipe down with some warm water, a sponge and some sugar soap to remove any old paste.
Each and every week I put my heart and soul into providing you with great content to help with any DIY jobs around the home.
If you think this post could help someone you know, please share.

Other Helpful Maintenance Articles
Should Unused Chimneys Be Capped? A Definite Answer – Should unused chimneys be capped? Found out why you NEED to cap them, and use this simple product that is recommended by many, that caps them perfectly.
How To Fix A door Handle That Fell Off – There are many ways to fix a door handle that fell off, but there is one way that always works.
How To Maintain Your House – The Spring Home Maintenance Checklist – With spring around the corner it makes perfect sense to check what maintenance your house may need for the season and the coming months ahead

